How to Blur Acne in Photos: Best Tools & Tips for Smooth Skin Editing
Learn how to useacne blurr phototools to get smooth skin instantly. Find top 4 tools & tips for flawless edits.
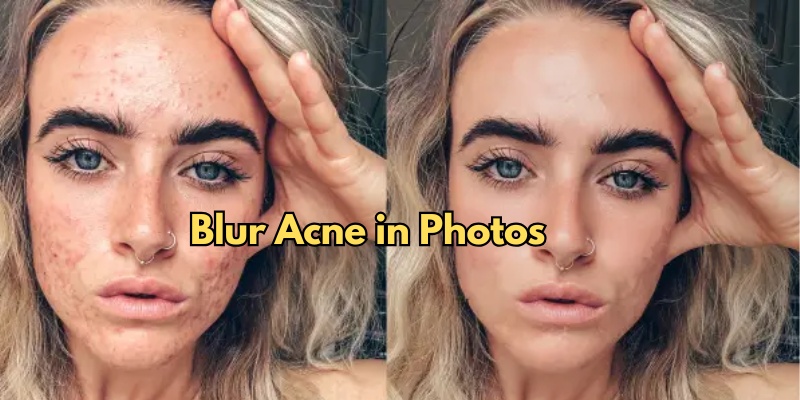
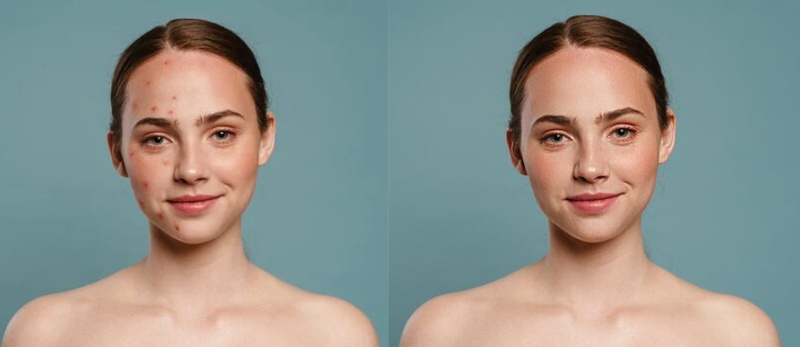
Achieving flawless skin in photos used to require hours of manual editing, carefully smoothing each blemish. Now, acne blurr photo tools make the process faster and smarter with AI-powered edits. These tools automatically detect acne and imperfections, applying a natural-looking blur that enhances your skin without losing detail.
Whether you prefer a hands-on approach or AI convenience, blur tools simplify editing, giving you smooth, professional-looking results in seconds.
4 Best Tools for Acne Blur Photos
1. PixPretty Photo Editor – AI Retouching Made Simple
PixPretty is an easy and smart AI portrait editor that helps you smooth skin, remove acne, and enhance facial details without losing the natural look. It uses advanced face-detection technology, so even beginners can edit photos quickly and get clean, realistic results in just a few clicks.
Whether you want to fix small imperfections or polish a full portrait, PixPretty makes the process simple and fast.
How to Use PixPretty to Remove Acne (Step-by-Step)
Step 1. Open PixPretty, create a new project, and upload your photo to start editing.

Step 2. Once the image loads, check the left sidebar and select the “Portrait” panel to access skin and face tools.

Step 3. Click “Facial Blemish Removal,” adjust the frequency slider, and PixPretty will instantly remove acne while keeping your skin natural.

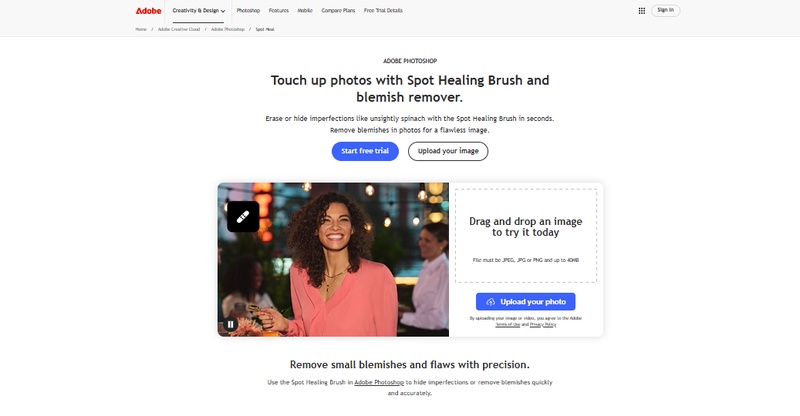
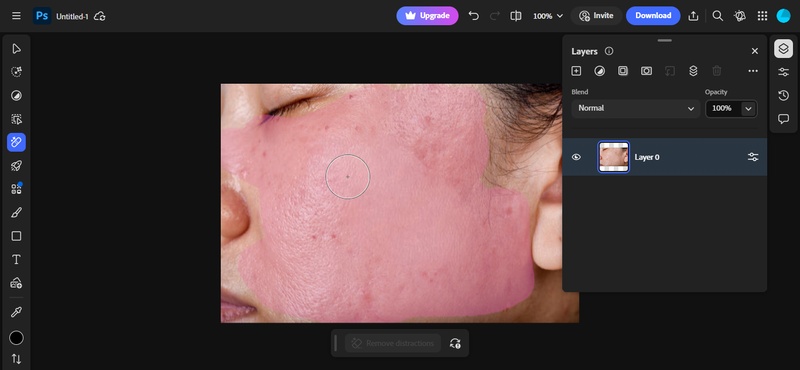
2. Adobe Photoshop: Acne Blur Tool
For professional photo editing, acne blurr photo Adobe techniques are highly effective. Using tools like Gaussian Blur and Spot Healing Brush, you can remove acne and blemishes while keeping skin natural and smooth. Photoshop gives precise control, allowing you to edit each spot carefully.
Who it’s for: Perfect for professionals or serious editors. However, it may run slowly on low-end laptops or weak internet connections.
Steps to Use:
Step 1. Visit theAdobe Photoshop website and open the tool. Upload your photo to start editing.
Step 2. Click the Retouch icon to access editing tools.
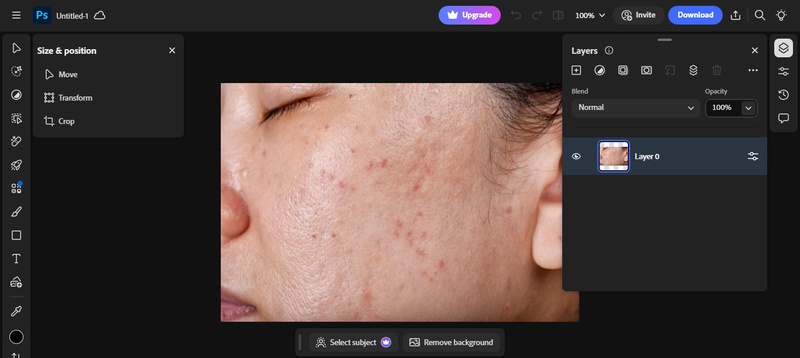
Step 3. Select the acne or blemished area you want to fix.
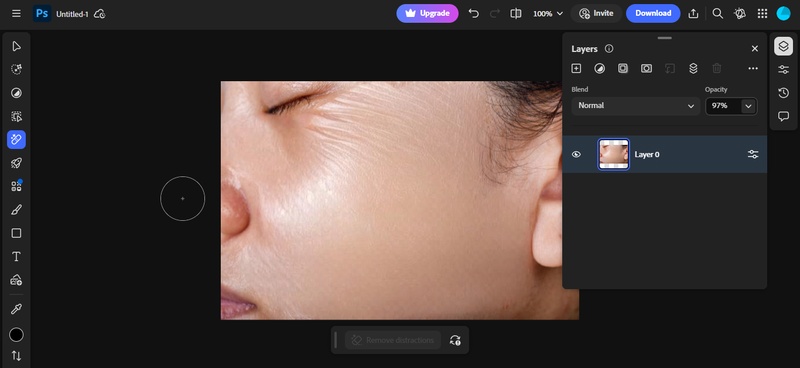
Step 4. Apply Spot Healing Brush for precise removal or Gaussian Blur to smooth larger areas.
Step 5. Check the result carefully. Click Download if satisfied or Undo to adjust.
3. Fotor or Canva: Easy Online Editors
Fotor and Canva are beginner-friendly online editors perfect for quick acne blurr photo edits. With powerful blemish removers, you can remove pimples, acne scars, sunburn marks, or freckles in just a few clicks, keeping skin natural and smooth. These tools are ideal for social media posts, selfies, or portraits.
Who It’s For:
Fotor and Canva are perfect for beginners, social media users, and casual photographers who want quick and easy acne blurr photo edits without complicated software.
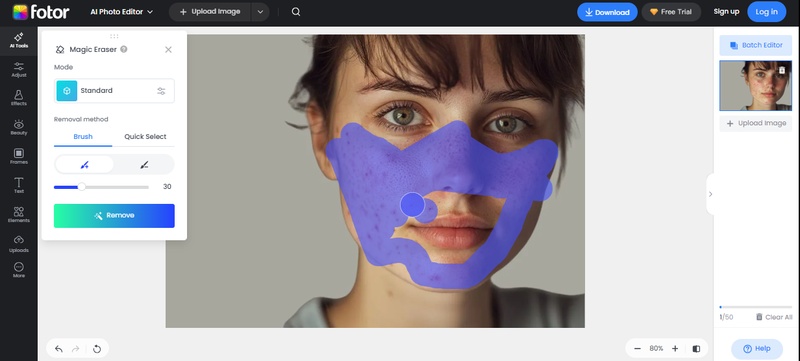
How to Remove Blemishes in Fotor:
Step 1. Open Fotor and click Edit a Photo.
Step 2. Upload the photo you want to edit. Click to Remove Blemishes Now.

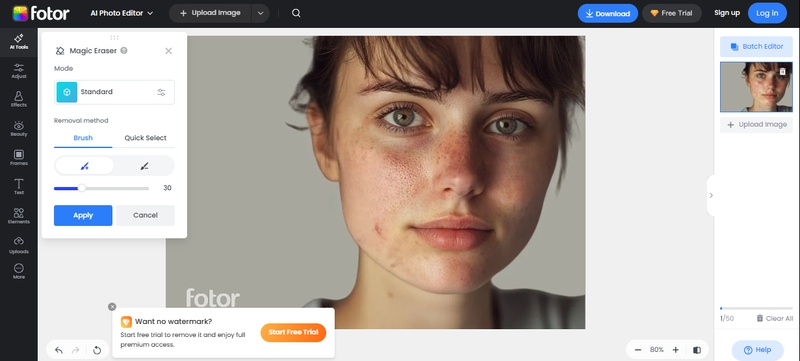
Step 3. Click Magic erase. Adjust brush size and click on blemishes, acne, or dark spots to remove them.
Step 4. Preview your photo, then save or share it on social media.
4. Mobile Apps (CapCut, Snapseed)
For quick acne blurr photo edits on iPhone or Android, mobile apps like CapCut and Snapseed are excellent choices. They allow you to blurr acne in photo or apply skin-smoothing effects directly from your phone, without the need for a computer.
Who It’s For: These mobile apps are perfect for anyone who wants quick and easy acne blurr photo edits on the go. Ideal for social media users, vloggers, or casual photographers who edit directly from their phone.
How to Blurr Acne in Photo or Video Using CapCut
Step 1: Install CapCut from the App Store or Google Play. Open the app.
Step 2: Tap New Project and select the image or video.
Step 3: Tap Retouch and choose a skin-smoothing or acne-blur filter. Adjust the slider for a natural look.
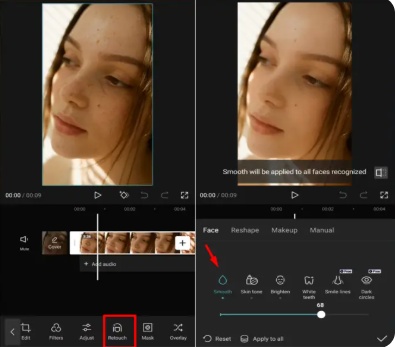
Step 4: Preview your edits, then tap Export to save.
5. Tips for Natural Acne Blur Without Losing Photo Quality
-
Keep it subtle: Avoid over-blurring so your skin still looks natural.
-
Target specific areas: Focus on blemishes instead of the whole face.
-
Combine tools: Use blur alongside AI blemish removal for the best effect.
-
Adjust gradually: Make small changes and preview often to get the right look.
-
Maintain texture: Preserve natural skin details for a realistic, polished photo.
Conclusion
Fixing acne and getting smooth, clear skin is simple with acne blurr photo tools. While Photoshop and other editors give options, PixPretty is the real game-changer. Its AI-powered one-click blur and blemish fix works online and on desktop, making it effortless for both beginners and professionals. You don’t need editing skills. PixPretty keeps skin natural while instantly removing acne. If you want fast, flawless, and high-quality results, PixPretty is the best choice to blur acne in photos.